1. View Summaries
    1. A Controller or an Administrator can submit an activity for an employee to attend by using the Enter Activity Function.
    2. 1. From any screen in PDP click the Enter Activities button.
    3. 2. Enter the employee’s last name or leave blank to select from a list of employees and click the Find Employee button.
    4. 3. Either select activity from the Activity Catalogue or manually enter activity if not in the catalogue. Note: Fields marked with an asterisk are required. Then click the Submit button to enter the activity.
  2. Approve/Verify


Table of Contents
 
Page # Menu Options
   
1-1 ------- Logging Into PDP Timekeeper
   
2-1 ------- Search Activities – Report creation and printing
   
3-1 ------- Search Employees – View and updating employee information for existing employees.
   
4-1 ------- View Summaries  View summary information for selected employees  
   
5-1 ------- Enter Activities - Adding activity requests for a single user including yourself
   
6-1 ------- Group Activity - Adding activity requests for a group of users
   
7-1 ------- Approve/Verify – Updating the status of requested activities
   
8-1 ------- Activity Catalogue – Viewing, adding and updating activities in the catalog
   
9-1 ------- Activity Types – Viewing, adding and updating activity types
   
10-1 ------ District Goals – Viewing, adding and updating district goals
   
11-1 ------ Funding Source – Viewing, adding and updating funding sources
   
12-1 ------ Manage Time – Archiving of accumulated hours by hour type
   
13-1 ------ Permissions – Adding new and updating existing employees. Setting user access to
PDP and generating user ID and password
14-1 ------ Maintain Tables – Adding new and updating existing records in the tables
   
15-1 ------ My E-Mail Address – Updating current e-mail address for PDP
   
16-1 ------ Import Employees – Adding large groups of employees to the data base
   
Appendix A Definitions
   
Appendix B Import File Specifications
   
Appendix C Suggested Reports – A listing of suggested reports


Logging Into PDP Timekeeper
 

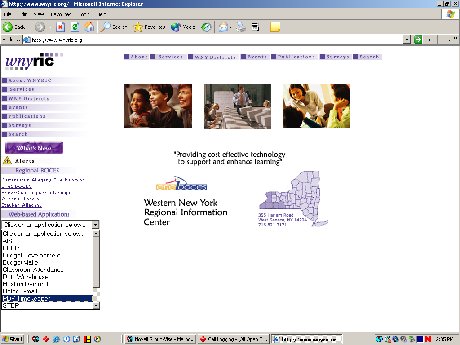
1.  You can access the website by either clicking on the link on your district website or typing http://www.wnyric.org in the address box of your browser and clicking GO.
 
2.  On the bottom left hand side of the screen click the drop down for Web Based Applications and select PDP Timekeeper.


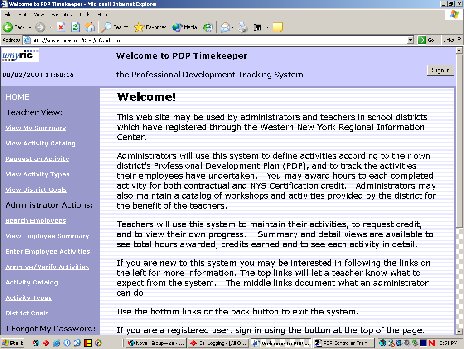
3.  When the log in screen appears click on the Sign In button in the upper right corner of the screen.


Page 1-1
 
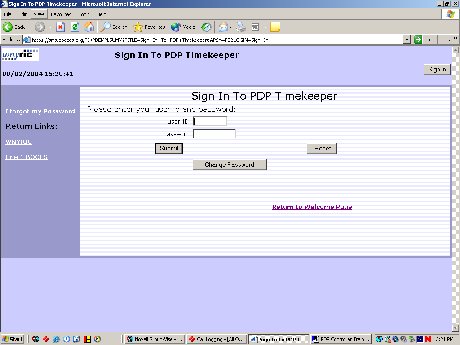
4.  On the login screen fill in User ID and password, then click on the Submit Button.
 
Note: If this is the first time you are logging in the password will be your first and last initial plus the last 6 numbers of your SSN.


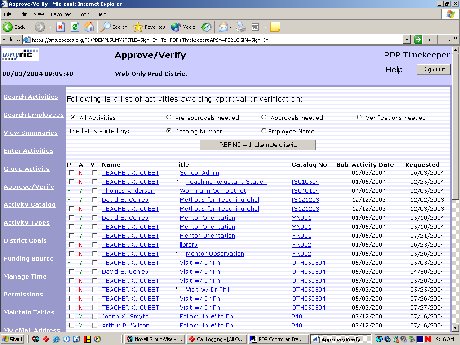
Once Login is completed the approve/verify screen will come up for controllers and administrators. The Summary screen will come up for employees/teachers.


Page 1-2

Searching Activities
 

The Search Activities option is where the user can create a variety of reports for tracking activities requested by employees. By using the selection criteria in the search activities button the user can create the following reports.
 
Class Roster – Select by activity
Activity Listing by Current Status – Select by status
Employee Activity by Date Listing – Select by date
Employee Activity by Activity Type Listing – Select by Activity Type.
Employee Activities by District Goals Listing – Select by District goals
Employee Activities by Building Listing – Select by Building
Employee Activities by Funding Source Listing – Select by Funding Source
 
Note: To create variations of the reports listed above select multiple criteria, for example using both the date and building a report of employee activities by date within a building can be created.
 
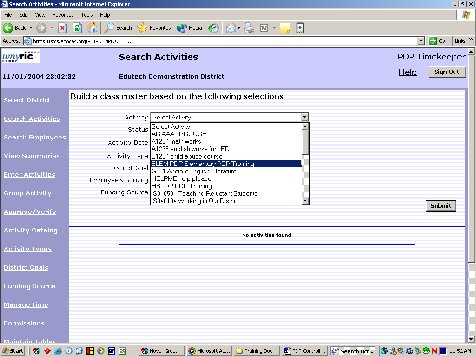
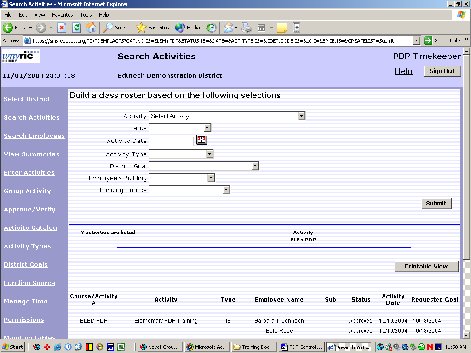
1.  From any screen in PDP click on the Search Activities Button.


2.  Use drop down menus to fill in the selection criteria at the top of the screen to create the desired report.


Page 2-1


3.  To print a report version of the screen click on the Printable View button.


Page 2-2
 

Search Employees

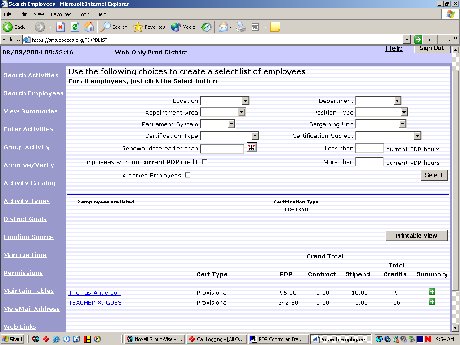
The Search Employees option allows administrators and controllers to view employee summaries and update data for individual employees. Reports can be created by using the search criteria. For example: a list of employees assigned to a specific building can be created by selecting the building a clicking the printable view button.
 
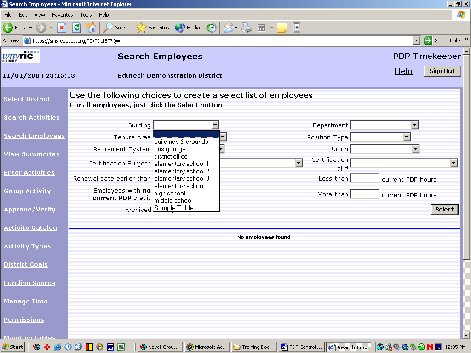
1.  From any screen in PDP click on the Search Employees button.


2.  Fill in any search criteria to search for a specific group of employees or leave criteria blank to view all employees. Click the Select button.
 
     
Page 3-1
3.  To view summary data for an employee click the Summary button on the right hand side of the screen.


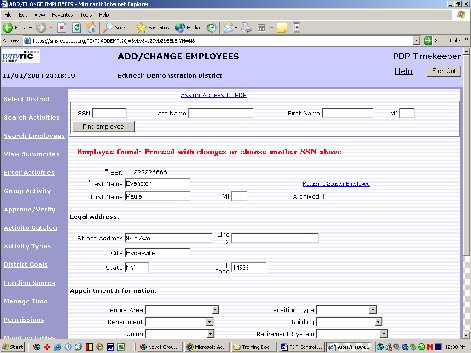
4.  To update employee information Click on the employee’s name.


5.  Make necessary changes and click the update employee button at the bottom of the screen.
 
Page 3-2


View Summaries

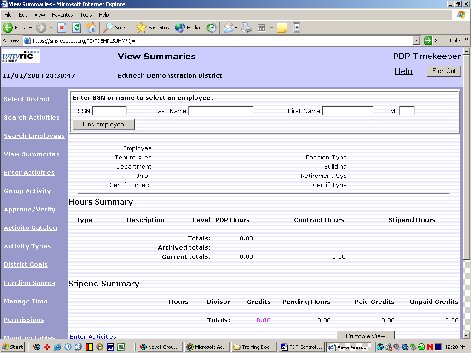
View Summaries is another way for administrators and controllers to access summaries for individual employees.
 
1.  From any screen in PDP click on the View Summaries button.


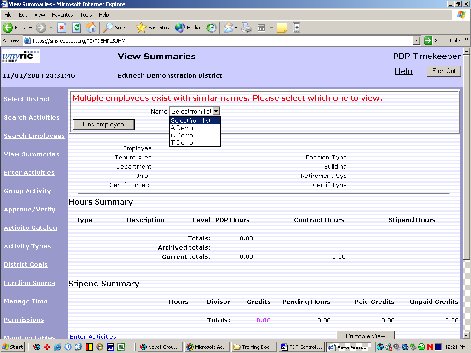
2.  Fill in Last Name and click the Find Employee button or leave SSN blank and click Find Employee button to search from a list of employees.
Note: If there is more than one employee with the same last name use the drop down list to select the desired employee.

 
Page 4-1

Enter Activities


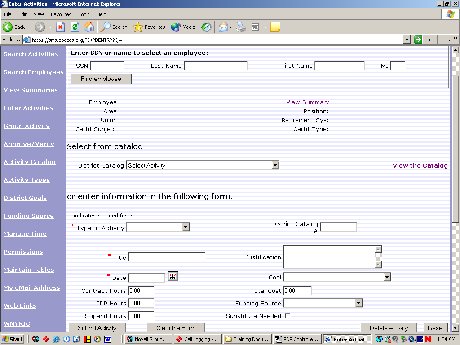
A Controller or an Administrator can submit an activity for an employee to attend by using the Enter Activity Function.


A Controller or an Administrator can submit an activity for an employee to attend by using the Enter Activity Function.
 
        Note: Administrators and controllers use this function to enter activities for themselves..


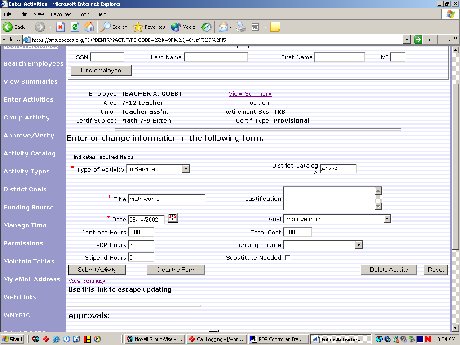
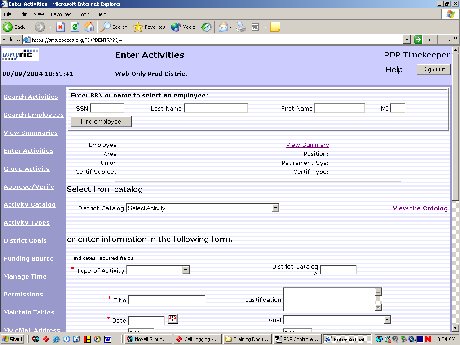
1. From any screen in PDP click the Enter Activities button.


1.  From any screen in PDP click the Enter Activities button.


2. Enter the employee’s last name or leave blank to select from a list of employees and click the Find Employee button.


2.  Enter the employee’s last name or leave blank to select from a list of employees and click the Find Employee button.
 
Note: If there is more than one employee with the same last name use the drop down list to select the desired employee.


3. Either select activity from the Activity Catalogue or manually enter activity if not in the catalogue. Note: Fields marked with an asterisk are required. Then click the Submit button to enter the activity.


3.  Either select activity from the Activity Catalogue or manually enter activity if not in the catalogue. Note: Fields marked with an asterisk are required. Then click the Submit button to enter the activity.


Page 5-1

Group Activity

Group Activity gives controllers and administrators the option to add an activity request to a selected group of employees.
 
1.  From any screen in PDP click on the Group Activity button.
 
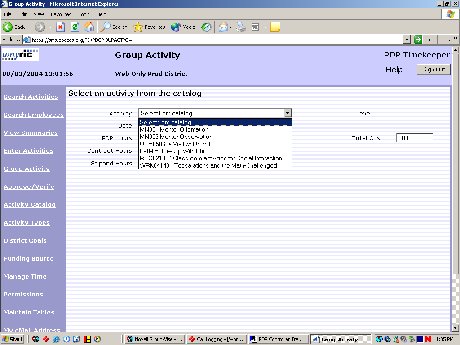
2.  From the Group Activity Screen select an activity from the Activity Catalog.


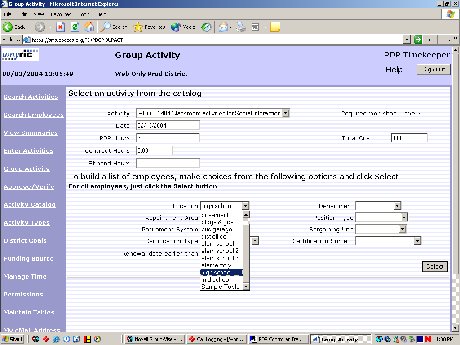
3.  Then using the criteria choices available select the desired group or leave blank to bring in all employees and click on the Select button.
 

Page 6-1
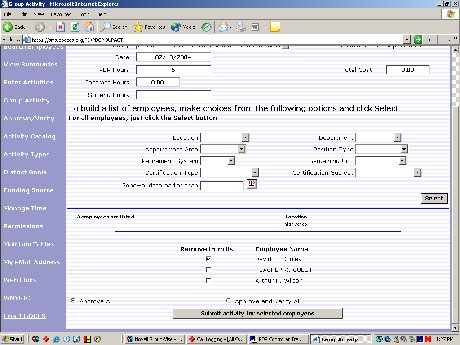
4  Click in Remove From List check box to remove any employees from this activity, click in either approve or approve and verify (if this activity has already been completed) and click the Submit Activity For Selected Employees.


Page 6-2

Back to top


Approve/Verify
 

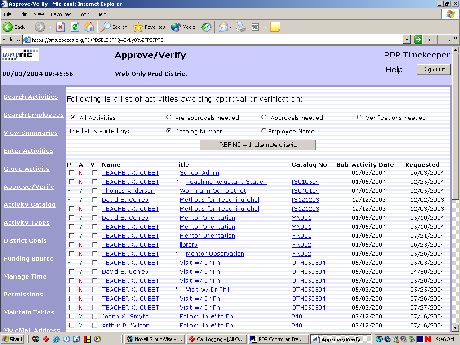
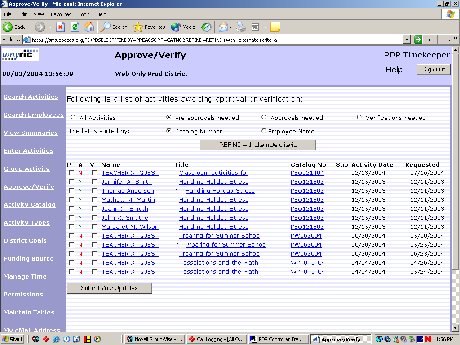
The Approve/Verify option in PDP is used for Controllers and Administrators to pre-approve, approve, verify or deny activity requests from employees. Requests should be reviewed daily.
 
1.  From any screen in PDP click on the Approve/Verify button.
Note: This is the opening screen when controllers or administrators log in to PDP.
 
2.  Use criteria options at the top of the screen to select from All activities, Pre-approvals needed, approvals needed or verifications needed.
 
3.  Pre-approve, approve or verify activities by clicking in appropriate check boxes to the left of the chosen activity and clicking the Submit Your Updates on the bottom of the screen.


Page 7-1
 
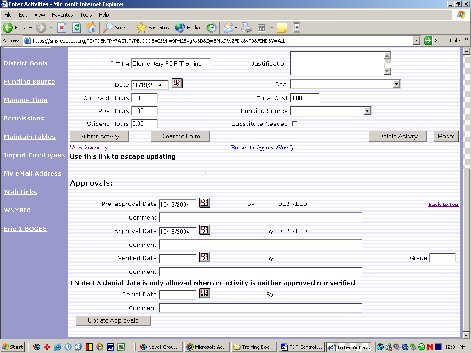
4.  To deny an activity request click on the activity title. At the bottom of the screen click button to the right of the denial date to input date denied and type denial reason in the comment field. Click the update approvals button.


Page 7-2


Activity Catalogue

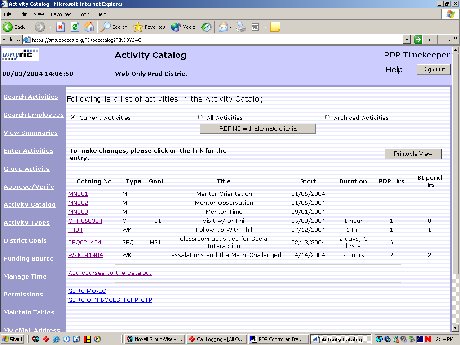
The Activity Catalogue option allows users to view and make changes to existing catalogue entries as well as to add new entries into the catalogue.
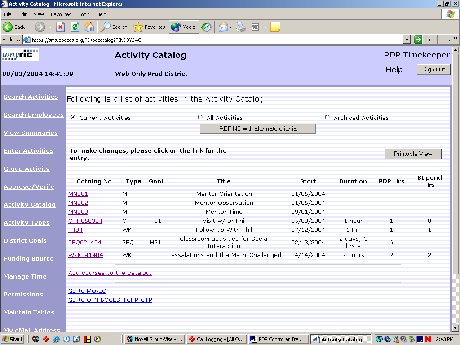
1.  From any PDP screen click on the Activity Catalogue button.
 
2.  To update an existing activity click on the link to the activity in the catalogue number column.

 
3.  Make any necessary changes and click on the Update This Activity button.
Note: If no employee has requested this activity it may be deleted. Once it has been requested it can no longer be deleted.

Page 8-1
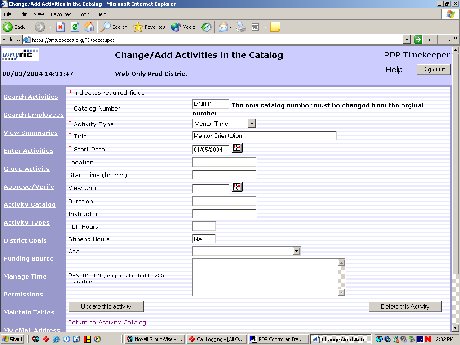
4.  To copy an existing activity into a new activity click the Copy This Activity button.


5.  The catalogue number must be changed. Make any other required changes and click the Update This Activity button to add to the catalogue.
 
6.  Click the Return To Activity Catalogue link to return.
 
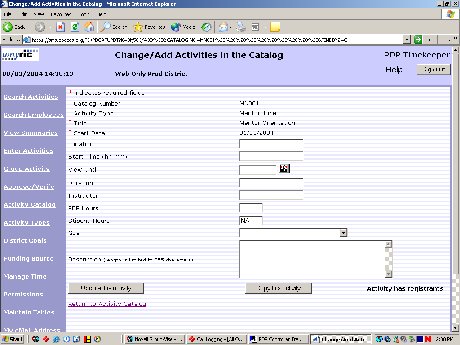
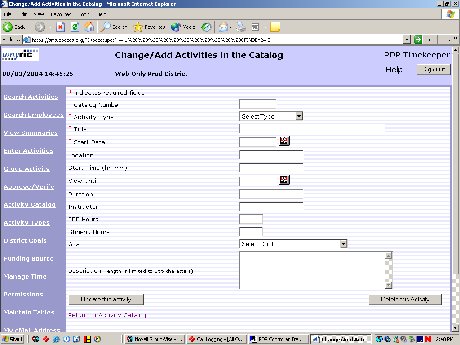
7.  To add a new activity to the catalogue, click the Add Courses To The Catalogue link.


Page 8-2
 
8.  Fill in necessary fields. Note: fields with an asterisk are required and must be filled in. Click the Update This Activity button to add new activity to the catalogue.


Page 8-3

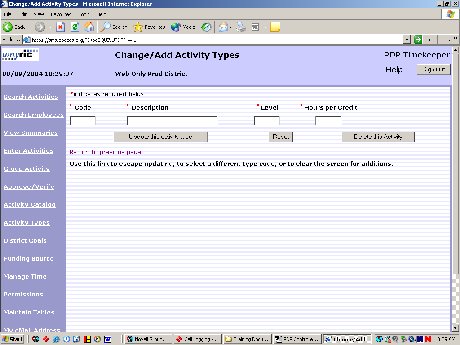
Activity Types
 

Activity Types allow the district to group activities in the catalogue in district defined groups and to assign hours per credit to facilitate tracking hours for stipend pay.
 
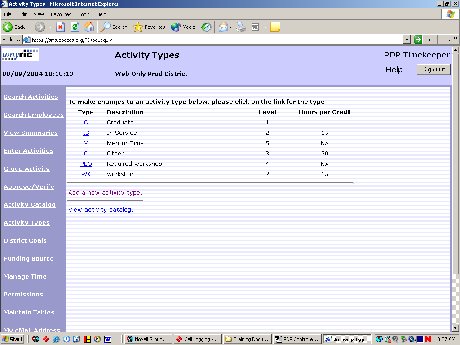
1.  From any PDP screen click on the Activity Types button.


2.  To add a new activity Click on the Add a new activity type button.


Page 9-1
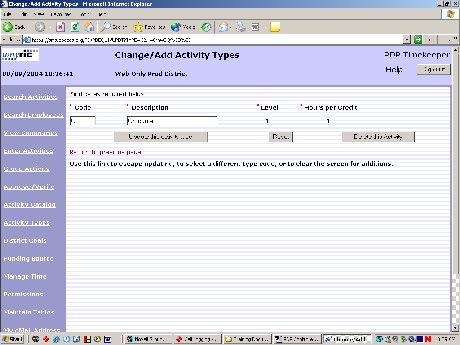
3.  Fill in the 5 character code, a description, the level and hours per credit. Click the update this activity button.
 
4.  To update an existing activity click on the activity code to be changed. The user may then change the code or the description only. Click the update this activity button.


Page 9-2

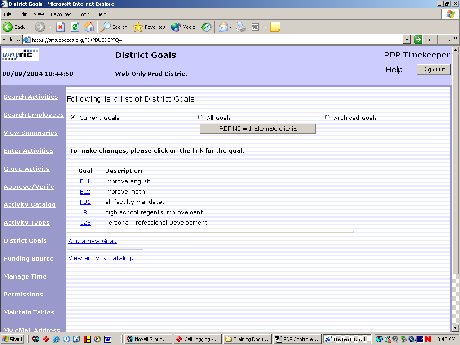
District Goals
 

District goals allow the district to track hours accumulated to reach district defined goals.
 
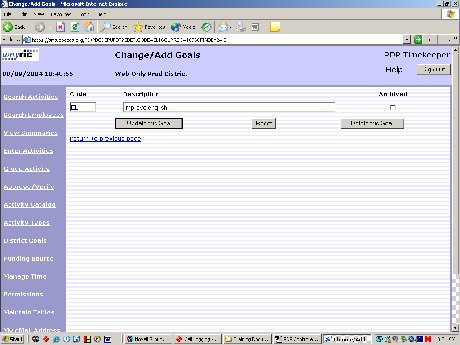
1.  From any PDP screen click on the District Goals button.


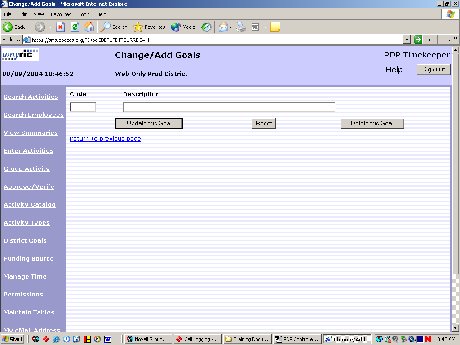
2.  To add a new goal click on the add a new goal button. Fill in up to an 8 character code and a description and click on the update this goal button.


Page 10-1
 
 
3.  To update or archive an existing goal click on the goal code. Make any necessary changes to the code or the description. To archive, click on the archive check box. Click on the update this goal button to save.


4.  Users may now add a District Goal to an individual activity by clicking on the Enter Activities button and selecting the goal in the Goals drop down list.


Page 10-2

Funding Source
 

Funding sources may be attached to individual activities allowing the district to track groups of activities by the source of funding.
 
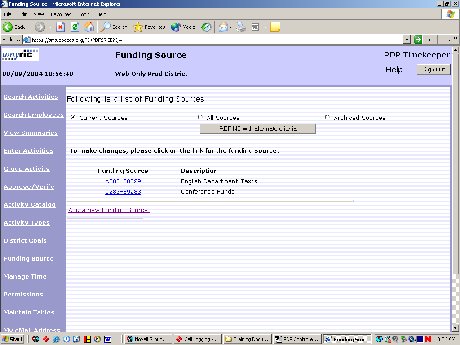
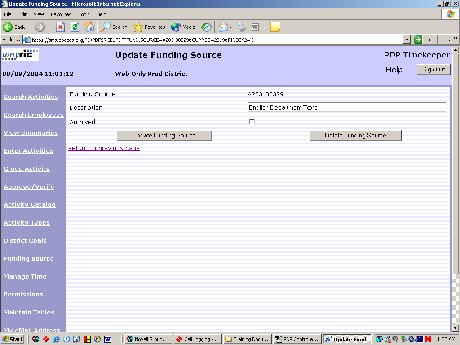
1.  From any PDP screen click on the Funding Source button.


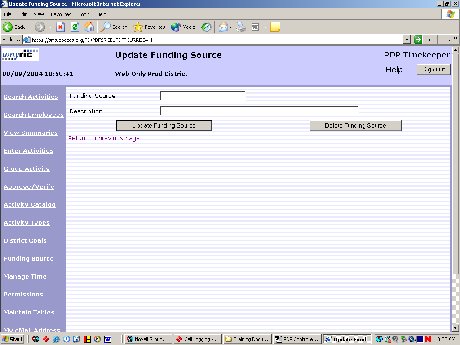
2.  To add a new funding source, click the add a new funding source button. Fill in the funding source and description. Click the update funding source button.


Page 11-1
3.  To update or archive an existing funding source. Click on the funding source code to be updated. Then update the description or click in the archive check box to archive. Click the update funding source button to save.


4.  Users may now add a Funding Source to an individual activity by clicking on the Enter Activities button and selecting the source in the Funding Source drop down list.


Page 11-2

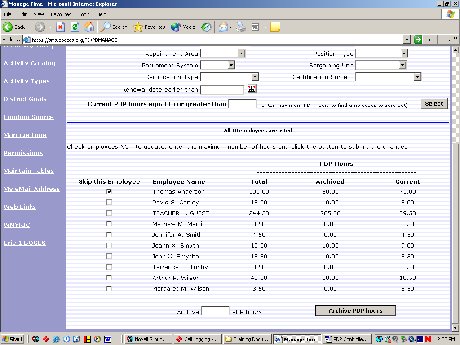
Manage Time
 

The manage time option is used to archive time accumulated at the end of the year. By archiving the district can track how many hours were accumulated in the current year.
 
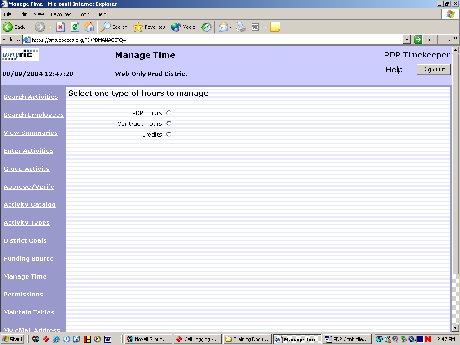
1.  From any PDP screen click on the Manage Time button.


2.  To archive time select the type of time to be archived. PDP Hours, Contract Hours or Credit Hours.


Page 12-1
 
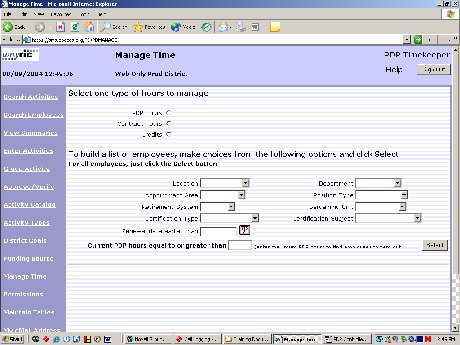
3.  Enter selection criteria to view a specific group of employees or leave criteria blank to view all employees and click the select button.


4.  To skip and not archive an employee click the skip check box to the left of the employee.
 
5.  Enter the number of hours to be archived and click the archive hours button.
 
6.  The system will move the hours from the current column to the archive column.


Page 12-2

Permissions
 

The permissions option is used to Add or modify employee information, to set user level access to the PDP system and to generate a user ID and password. A new employee may be added as a teacher/employee or an administrator. Note: To set an employee as a controller contact BOCES support.

Adding/Modifying an Employee
 

To add a new employee first the employee information should be added and the user ID and level of access should be set up.
 
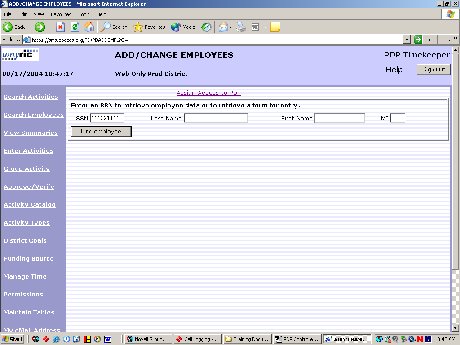
1.  From the Permissions screen Click the Add/Change button.
 
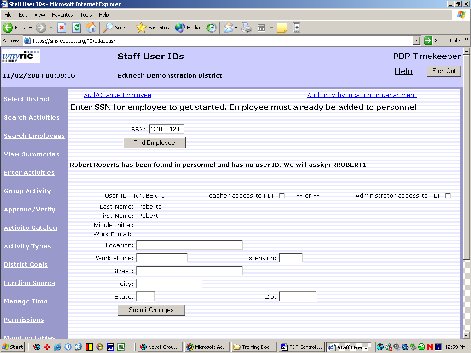
2.  Enter the employee’s SSN and click the find employee button.


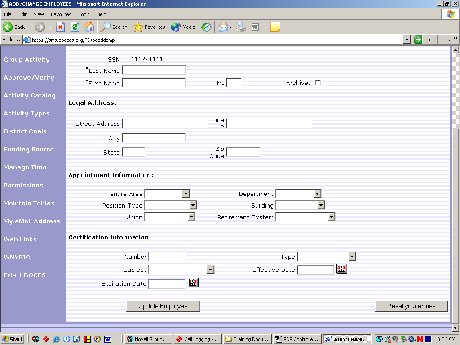
3.  If the employee is already in the database the employee’s data will appear and now may be modified by making changes and clicking the update employee button. If not the fields will be blank and the new employee data may be added. Then click the update employee button.


Page 13-1


Setting User Teacher or Administrator Access
 

1.  From any PDP screen click on the Permissions button.


2.  Click the access to PDP button on the top of the screen
 
3.  Fill in the employee’s SSN and click find employee.


Page 13-2

 
4.  Select teacher or Administrator access and click submit changes.
 
5.  The system will create the user ID and password automatically. The user ID will appear at the top of the screen and the password will be first and last initial plus the last 6 digits of the employee’s SSN.
 

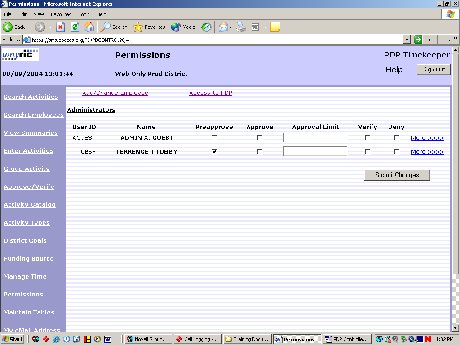
Giving Approval Access

Administrators and controllers may given access to pre-approve, approve, verify or deny activity requests from employees.
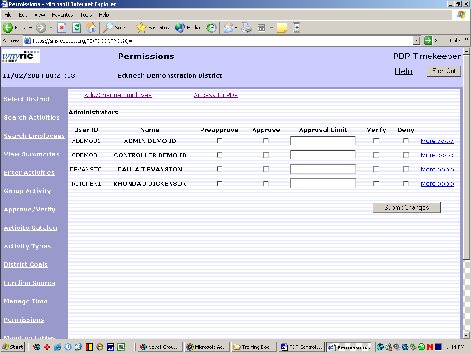
1.  From any PDP screen click on the permissions button on the left side of the screen.
 

Page 13-3
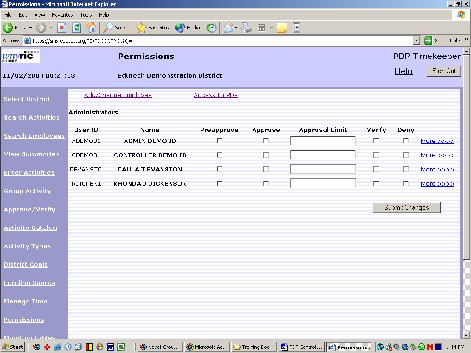
2.  To restrict access to a specific action click the check box next to the action and click the submit changes button. If all options are left blank the administrator will have access to perform all approval actions.
 
3.  To set approval access for a specific building or department click the more button on the right side of the screen.


4.  Click the check box next to the building and\or the department and click submit changes on the bottom of the screen. Leaving these blank will give the administrator access to all buildings and departments.


Page 13-4


Maintain Tables
 

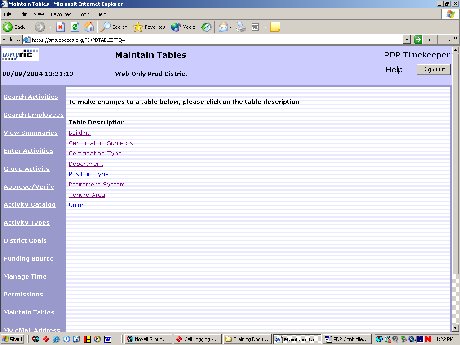
The maintain tables option allows the district to add or archive specific criteria for grouping employees together. The tables are buildings, certification subjects, certification types, departments, position types, retirement system, tenure area and union. These tables are not required, but they are useful in restricting searches to specific criteria.
 
1.  From any PDP screen click on the Maintain Tables button.


2.  Click on the table to be updates.
 

Page 14-1
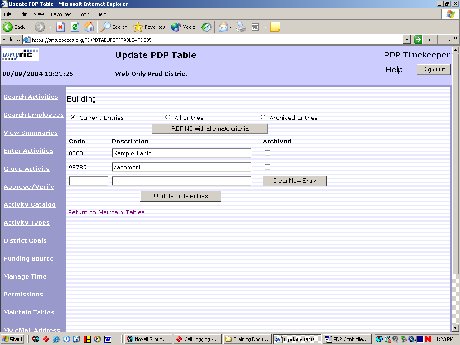
3.  Fill in the code and description and click the update table entries button to save.
 
4.  To archive click the archive check box and click the update buttons.
 
5.  To view archived entries select archived entries and click the refind with alternative criteria button.


Page 14-2

My E-Mail Address
 

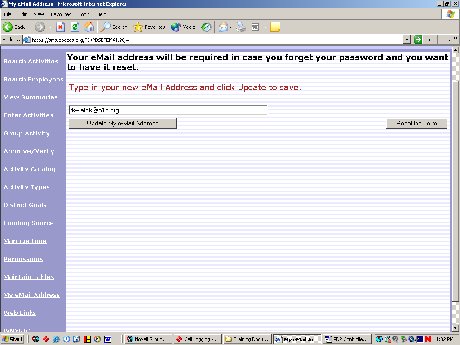
All employees can set or update their own e-mail address within the system. The e-mail address is used by PDP to send automatic e-mails when a controller or administrator adds a group activity or when a user forgets their password and requests a password reset.
 
1.  From any PDP screen click on the My E-Mail Address button.


2.  Fill in the e-mail address and click the update my e-mail address button.


Page 15-1

Import Employees
 

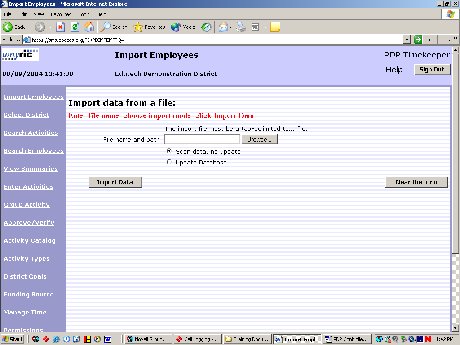
Controllers have the ability to upload a group of employees into the database. The file must be in a tab delimited format spread sheet. See appendix B for the file layout.
 
1.  From any PDP screen click on the Import Employees button.


2.  Fill in the path to the file or click browse to find.
 
3.  The scan data, no update option is used to verify the data is correct without importing. Use this option first to validate the data will upload correctly. If so repeat steps using the update database option.
 
4.  Contact Boces to run batch routine to create user IDs.


Page 16-1

Definitions
 

Activityany professional development activity that the district wishes to track, e.g. Workshop: “Using Computers in Science Class”


Activity Type— Activity categories, e.g. In-service, Workshop, Grad Course and more


Catalog—listing of professional development activities offered by the district, a college, BOCES, etc.


Approve—give the employee the go-ahead to take a course or other activity


Verify—indicate that proof of completion of an activity has been submitted; assign value


PDP Hour—time value awarded to an activity for SED requirement of 175 hours every 5 years


Contract Hour—time value awarded to an activity to meet district contractual requirements for professional development each year


Stipend Hour - time value awarded to an activity to build toward an advancement in salary


Stipend Credit—credit earned after a given number of stipend hours are completed


Level—all activity types with the same weight are grouped into one level for totaling purposes


Block—number of credits needed to earn a stipend or to advance on salary schedule


Funding Source—budget code or other basis of payment for a requested activity


Appendix A


PDP Import File Field Specifications
 

Employee Record Data  
 
Field #  Description  Maximum length
 
1*  SSN  11
2*  Last Name  16
3*  First Name  14
4  Middle Init   1
5  Address 1  20
6  Address 2  20
7  City  20
8  State code   2
9  Zip.  10
 
Appointment Record Data  
 
Field  Description  Maximum length
 
10  appointment(tenure) area code   8  
11  appointment(tenure) area name  45
12  Department code   8
13  Department name  45
14  Position (employee) type code   8  
15  Position (employee)type name  45
16  Bargaining unit code   8
17  Bargaining unit name  45
18  Building code   8
19  Building name  45
20  Retirement System code  8
 
Certification Record Data  
 
Field  Description  Maximum length
 
21  Certification number  11
22  Certification Type   8
23  Area of Certification code   8
24  Area of certification words  45
25  Certification Date   8
26  Certification expiration Date   8
 
27  blank column
 
* Required Fields
File notes:  
  Tab delimited text file
  Provide only one appointment record and one certification record per employee.
  Data elements not loaded electronically may later be added manually within PDP Timekeeper.
 
Appendix B

Suggested Reports
 

Although PDP does not have an actual report creation area many of the screen may be use to generate reports by clicking on the printable view button. The following is a list of reports that can be created this way.
 
Note: Any of the following reports can be modified by use multiple criteria. Such as in Search Activities selecting a building and a date will give a report of all activities for a specified building for a specified date and can be used to verify the number of subs needed.
 
Report Name
Purpose
How To run
Class Roster A listing of all employees enrolled in a specified class or seminar. In Search Activities select by activity.
Activities by Status A listing of all activities by a given current status. In Search Activities select by status.
Activities by Type A listing of activities by district defined categories. In Search Activities select by activity type.
Activities by Goals A listing of activities tied to a district defined goal. In Search Activities select by goal.
Activities by Building A listing of activities for a specified building. In Search Activities select by building.
Activities by Funding Source A listing of activities for a specified funding source. In Search Activities select by funding source.
Employees with no PDP credit A listing of employees without any current PDP hours. In Search Employees click on employees with no current PDP credit check box.


Back to top