Introduction to MS Word and Word Processing
I. The
Word
Desktop
II. Documents
A. New Documents
B. Opening an Existing Document
C. Entering Text
D. Moving around the screen
III.
Navigating in Word
A. Selecting Text
B. Undo & Redo
C. Move and Copy Text
IV.
Formatting Characters and Paragraphs
A. Changing Text Appearance
B. Font & Style Selection
C. Paragraphs
D. Page Setup
1. Margins
2. Paper
Size/Orientation
E. Indenting & Bullets
V. Proofing
Tools
A. Save & Save As
B. Spell
Checker
C. Auto Correct
D. Thesaurus
E.
Grammar Check
1
The Word Desktop
Menu Bar
MOM Bar
Tool Bars
Scroll Bars
Status Bar
2
Features:
Feature Description
Use
Tool Bar
Picture Buttons
Click button to initiate
common commands
Scroll Bar
Gray area between Scroll
Arrows
Allows you to move through
the document
Scroll Arrows
Arrows on either side of scroll
bar
Used to move view in the
direction of the arrow
Document Window
Area between the toolbars and
status bar
Area in which typing is done.
Tool Bars
Tool Bar
Buttons
Standard Tool Bar
New document
Open File
Save File
Print
Spell Checker
Cut
Copy
Paste
Undo
Redo
Formatting Tool Bar
Template
Font
Font Size
Bold
Italic
Underscore
Left
Center
Right
Bullets & Numbering
Text Color
Highlight Color
Drawing Tool Bar
Word Art
Lines
Circles
Rectangles
Arrows
Shadows
Auto Shapes
Grouping
Ordering
Transposing
3
Start a New File
Click on the New File Button
Click on the File Menu and select New
Open an existing File
Click on the File Open Button
Click on the File Menu and Select Open
New Documents
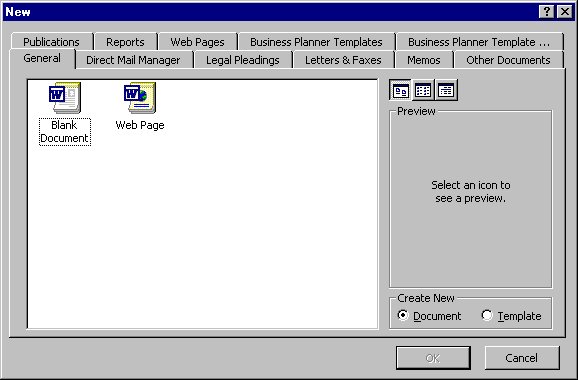
Each time you start Word a blank document screen appears, labeled Document 1. It is on this
screen that you start your word processing. If you are working on a document and need to start a
new document you can click on the File Menu and Select New. If you do the following appears:
There are many choices for the kind of document you might wish to start. Click on some of the
tabs and check out the choices. If you just want to type on a blank spot choose blank document
under the General Tab.
Entering Text
The
Insertion Point
—It’s the flashing bar that lets you know where the next letter to be typed
will appear. The insertion point always stays within the margins, if you click outside the
margins, the insertion point will be placed next to the nearest text.
Type the word
birdhouse
. Place the insertion point between the
d
and
h
by using the arrow keys
on the keyboard. To delete a letter before (to the left of) the insertion point press the backspace
key. To delete a letter after (to the right of) the insertion point press the delete key.
4
There are some keys on the keyboard that move the insertion point around. Here is brief list.
Key Does
Arrow keys
One character at a time in the direction of the arrow
Page Up/ Page Down
Move up or down one page
Ctrl & left or right arrow
Moves to the beginning or end of a word.
Home/End
Moves to beginning or end of a line
Ctrl & Home or End
Moves to the beginning or end of a document
Ctrl Page Up or Page Down
Top or bottom of the screen
Open the document in your folder called: Test
Start a new document
Type a sentence or two.
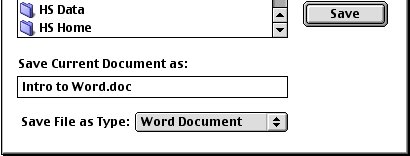
To Save a File
Before you save a file there are always
three things that you need to know:
1. Know
where
you are going to save it.
2.
Know what you are going to
name
it.
3. What
file type
you want it saved as.
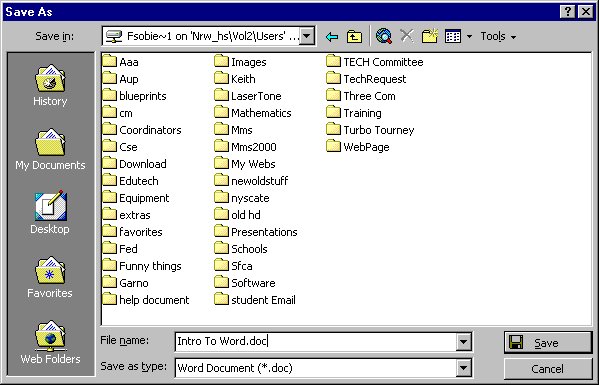
The best place to save anything is in your home space on the server. It should have your name
on it.
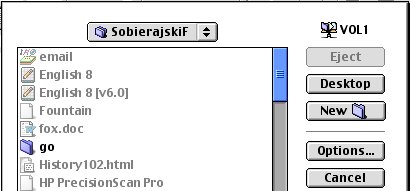
Windows Machine
Mac
You need to give it a file name. The server does not like for you to use punctuation marks. You
must especially avoid the following: commas(,) , periods (.), slashes (/:).
The file type most of the time will be a Document. (DOC) Mac users should add period doc to
the end of their file name, e.g.,
my spelling list
would become
my spelling list.doc
, this will
allow both Mac users and Windows users to edit this file.
5
Selecting text
To select only given words or characters in a line
:
Move the mouse cursor to the first character of the text, then press and hold the left mouse
button. Drag the mouse to the end of the text you want then release the mouse button.
To select a single word:
Double click over the word.
To select a line or lines of text:
Click on the far left margin once.
If you want more than just one line, drag the mouse over the lines you want.
To select a paragraph:
Triple click anywhere in the paragraph.
To select a single sentence:
Hold down the
Control Key
and click anywhere in the sentence.
To deselect text:
Click anywhere in the document or press an arrow key.
The Best Button!
On the Standard Toolbar is the UNDO button.
Pressing it once undoes the last thing that
you did. Pressing it again undoes the previous thing, etc. The redo button is adjacent to the
Undo button.
Moving and Copying Text
To move, cut or copy text you must first select it.
Move:
Highlight a sentence.
Click the cut button.
Move the insertion point to a place you would like to place this text.
Click on the Clipboard (Paste) button.
Copy:
Select another line.
Click the copy button.
Move the insertion point to another area.
Click the paste button.
6
Formatting
Characters & Paragraphs
Word provides many options for formatting your text.
You can use the Menu Method or use the buttons on the Formatting Toolbar.
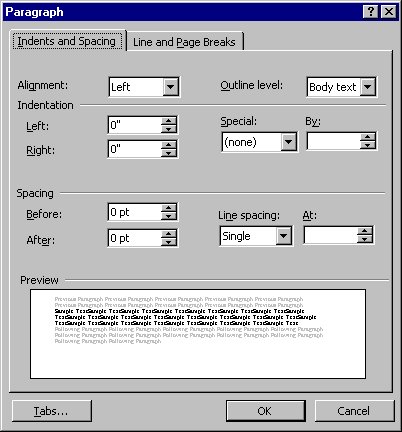
Paragraph formats:
Go to Format on the Menu Bar and select Paragraph. This screen should appear:
Change the line spacing to 1.5 and set the indentation to .5”.
Click OK when you are done.
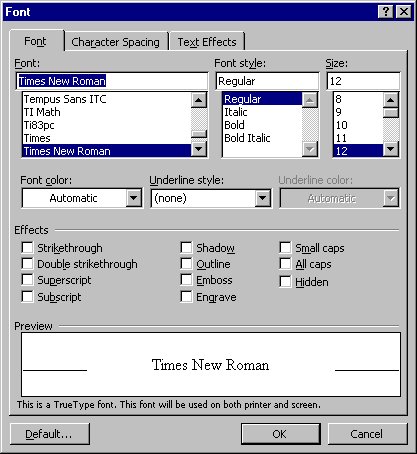
Font Appearance:
Select a sentence (highlight with the mouse.)
You can change the font, type size and other appearances using the formatting tool bar.
It allows you to bold, italicize, or underline text. You can center, left or right justify a paragraph.
You can also highlight text or change the color of your t
ext.
ou can also use the Menu Bar to access these and other
ll
heck out the effects options.
Y
format choices. Click format and click font. This box wi
appear:
C
7
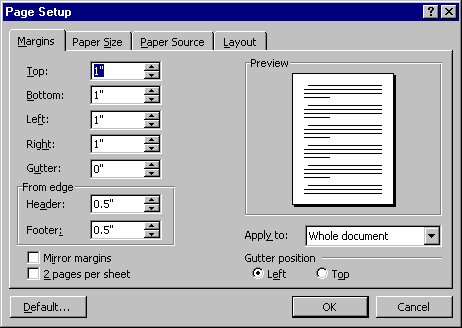
Margins:
Formatting the page includes changing the page size, orientation, margins and layout. For this
process we will use page setup. (Click File then click page setup.)
Note the four tabs at the top.
Margins
Paper Size
Paper Source
Layout
Click on Margins and look at the choices available to you. Do the same with the other tabs.
The
button
This toggles between on and off. When this button is on and you can see the format characters
be assured that they do not print—unless you ask for them to be printed.
Bullets
Type a list of about five items.
E.g.,
Gloves
Hat
Shirt
Coat
Shoes
Highlight these items and click the
on the formatting toolbar. Highlight them again and
click the
button. Note the changes.
8
Back to top