Creating the Data Source for HEAT
| · | From the Start Menu, select Settings\Control Panel | |
| · | On the Control Panel select Administrative Tools\Data Sources (ODBC). | |
| · | You should then see a window like this | |
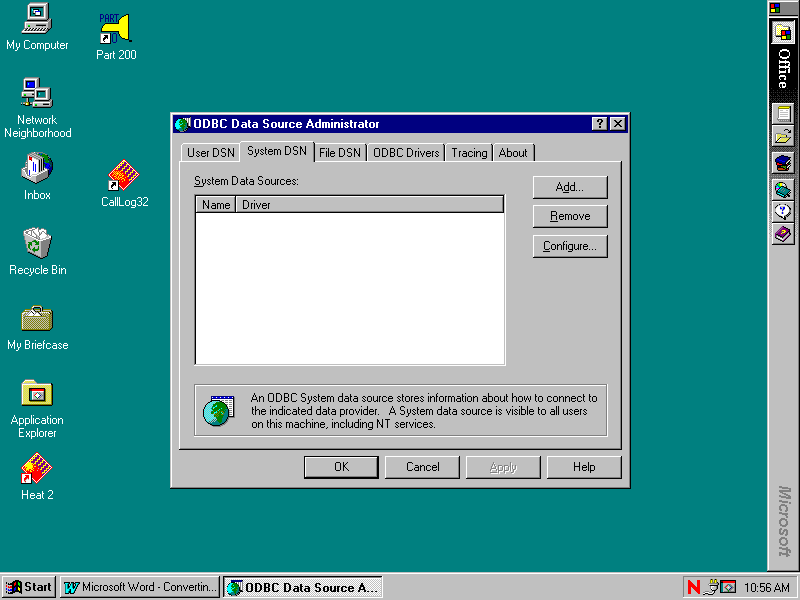
| · | Click the System DSN tab along the top (2nd from left). | |
| · | If you have a prior HEAT data source, highlight and click remove. | |
| · | Click the Add button on the right. | |
| · | From the Create New Data Source window, highlight SQL Server in the list. | |
| · | Click the Finish button along the bottom. You will see a screen that looks like this: The input boxes will be blank. The information to enter is specified on the next page. | |
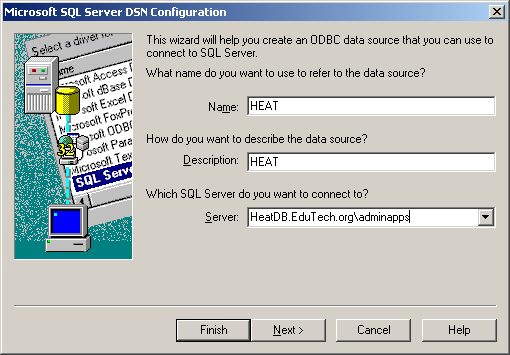
| · | Enter the following information: |
| Name: HEAT | |
| Description: HEAT |
| Server Name: HeatDB.Edutech.org\adminapps | |
| · | Click Next |
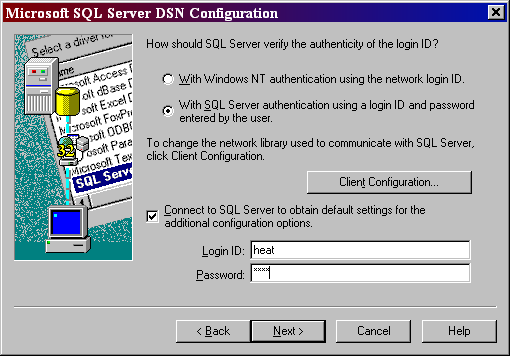
| · | Make sure that the radio button next to With SQL Server authentication is checked. Then, check the box next to Connect to SQL Server to obtain default settings… type in Login ID of heat and password of heat4257 . Then uncheck the box. | |
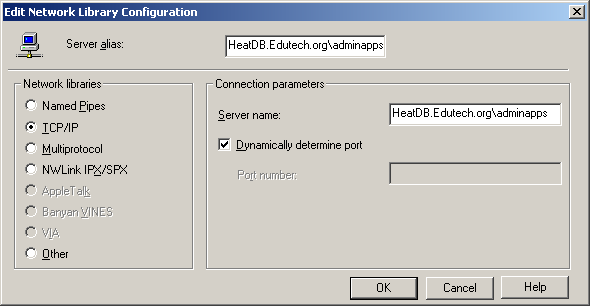
| · | Next, Click on the Client Configuration Button, Server alias should be the name of the server, Network Libraries should be TCP/IP, and the Connection Parameters should fill in automatically when you select TCP/IP. Click Ok, then next. | |
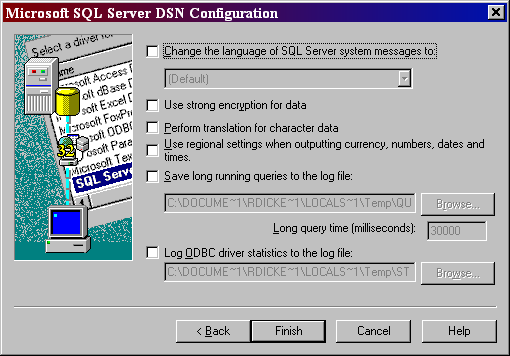
| · | On the next screen, uncheck all the boxes and click next. | |
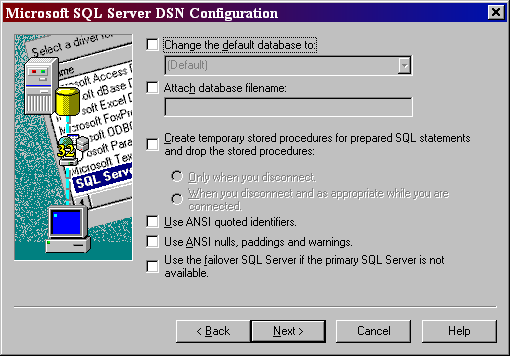
| · | Again, uncheck all the boxes and click finish |
| · | The next screen confirms your choices. |
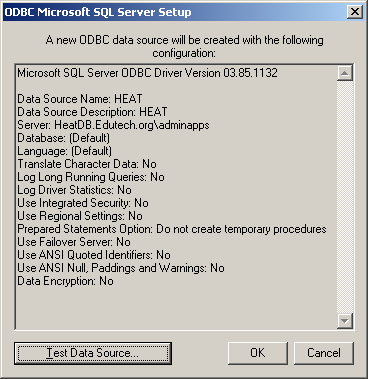
| · | Click OK |
| · | You should see your new data source. |
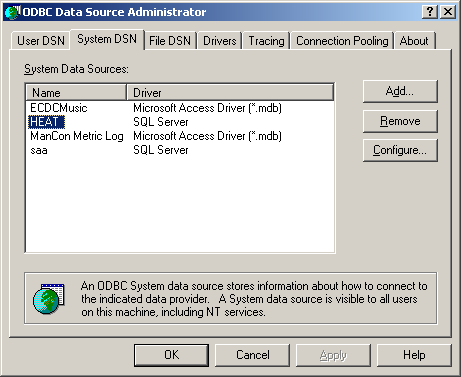
| · | In the ODBC Data Source Administrator window, click OK. |
| · | Close Control Panel |
HEAT data source set-up is now complete!
HEAT 9.0.2 Workstation Setup
| · | You will need to close out of any applications you have open on your screen before you begin. |
| · | You do not need to uninstall the prior version of HEAT, the new install will update the old version. |
| · | From the Start Button, select Run |
| · | From the Run box, click the Browse button |
| · | Click My Network Places, then double click Entire Network. |
| · | Next double click Netware Services, Netware Servers. |
| · | Now double click Edu-Adm, then the folder Vol1, then Apps, then HEAT Client, then Setup |
| · | Highlight HEAT.EXE and click the Open button (or double click HEAT.EXE) |
| · | You will be back at the Run box with the file HEAT.EXE ready to open. |
| · | Click OK. The workstation setup will begin. |
If you receive a NET 3.5 error:
| · | From the Start Button, select Run | ||
| · | From the Run box, click the Browse button | ||
| · | Click My Network Places, then double click Entire Network. | ||
| · | Next double click Netware Services, Netware Servers. | ||
| · | Now double click Edu-Adm, then the folder Vol1, then Apps, then HEAT Client, then NET 3.5 | ||
| · | Highlight dotnetfx35setup.exe and click the Open button (or double click dotnetfx35setup.exe) | |
| · | Click OK | ||
| · | Accept the User Agreement by clicking on the radio button and then click the ‘Install’ button | ||
| · | Ensure that you see the .NET 3.5 SP1 installed successfully message and then the Next button | ||
| · | From the Start Button, select Run | ||
| · | From the Run box, click the Browse button | ||
| · | Now double click Setup | ||
| · | Highlight HEAT.EXE and click the Open button (or double click HEAT.EXE) | ||
| · | You will be back at the Run box with the file HEAT.EXE ready to open. | ||
| · | Click OK. The workstation setup will begin. | ||
| · | When asked to update the previous version, click yes |
| · | On the HEAT Installation Welcome window, click Next. If you receive a message about having to have IIS 5.0 or higher, click ignore. |
| · | Click the box to accept the license agreement and both boxes below, then click next. |
| · | On the Setup window, click Next. |
| · | On the Ready to Install window, click install. |
| · | You will see a status bar on the installing HEAT window during the install. |
| · | When it is complete, you will see an “Installation Wizard Completed”, click Finish. |
| · | Click Yes to restart your computer. |
| · | To create a new icon for HEAT on your desktop, right click on the background of your desktop. |
| * | From the pop-up box, choose new, then Shortcut. | |
| * | Click the Browse button under the command line box. | ||
| * | In My Documents, double click on the C:\ folder, then Program Files folder, then the HEAT folder. | ||
| * | Highlight “Call Log” and click OK. | ||
| * | Information pointing to Call Log should appear in your Command Line box. Click Next. | ||
| * | Select a name for the shortcut. It will default to “CallLog” but you can change the name. | ||
| * | Click Finish. You should now see a new shortcut on your desktop for HEAT. | ||
Starting HEAT 9.0.2 for the first time
| · | Now you are ready to go into call logging. |
| · | When click on you new HEAT icon, you will be asked to select a data source |
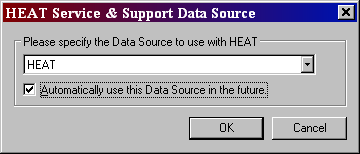
| · | Select HEAT and make sure Automatically use this Data Source in the future is checked. |
| · | Click OK |
| · | You will then see a SQL Server Login Box (This will be a one-time set-up) |
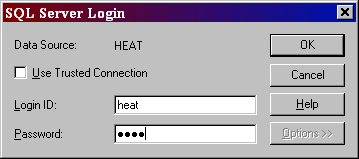
| · | Type in the Login ID and Password and click OK |
Login ID = heat
Password = heat4257
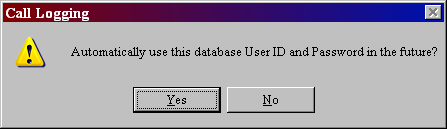
| · | Click yes on Automatically use database User ID and Password in the future. |
| · | Next, the HEAT Login screen will appear. |
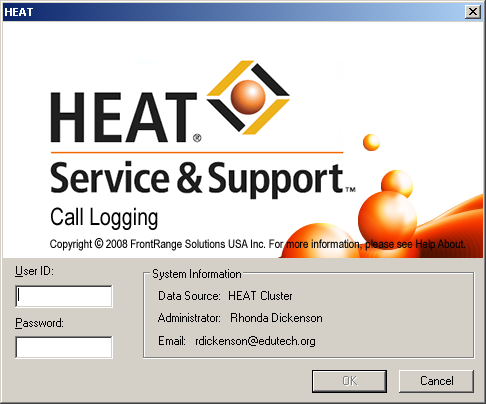
| · | Login in with your User ID and Password and click OK. |
| · | You are now logged into the NEW HEAT 9.0.2 !!!!!! |
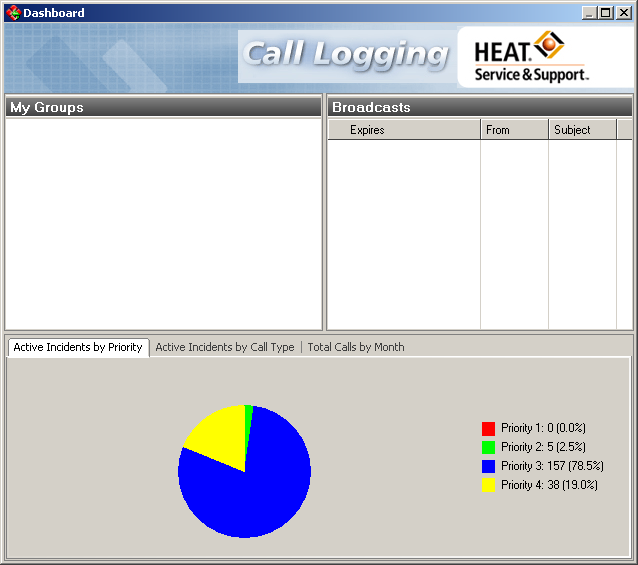
| · | With HEAT 9.0.2, the Dashboard automatically starts when you log into HEAT. You can click the “X” in the right hand corner to close. If you do not want it to start every time, go to the Edit menu and select user preferences. At the very bottom of the Display tab, uncheck the Show Dashboard At Startup box. |
| · | If the HEAT Ticket number is not displayed: |
| · | Click on the HEAT ‘View’ pull down menu and check the ‘Call Status Banner’ |
If you have any problems, please call Rhonda Dickenson at Ext. 7438
or Kirk Simpson at Ext. 7300.
- 1 -