| Page # | Menu Options |
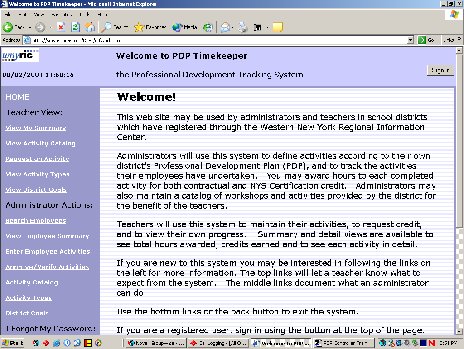
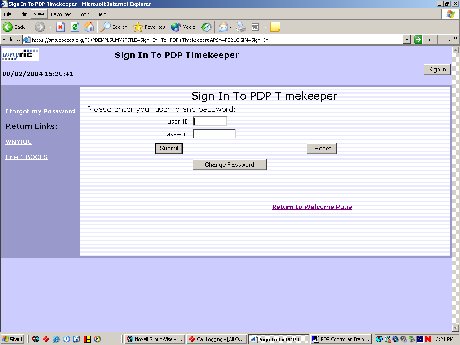
| 1-1 ------- | Logging Into PDP Timekeeper |
| 2-1 ------- | Search Activities – Report creation and printing |
| 3-1 ------- | Search Employees – View and updating employee information for existing employees. |
| 4-1 ------- | View Summaries – View summary information for selected employees |
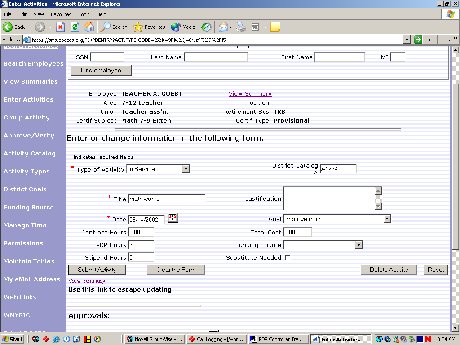
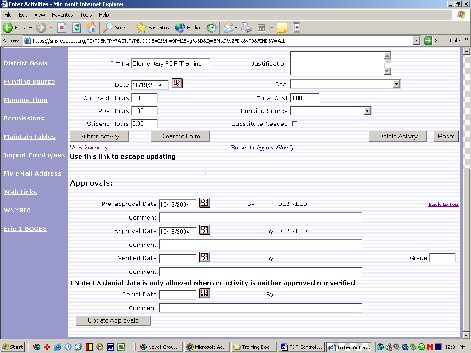
| 5-1 ------- | Enter Activities - Adding activity requests for a single user including yourself |
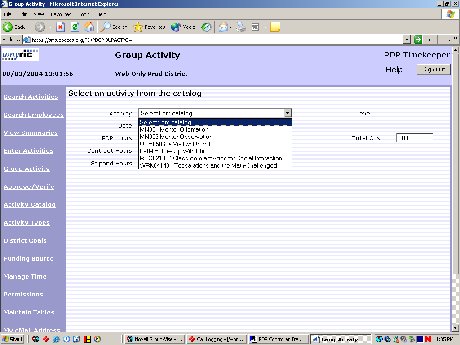
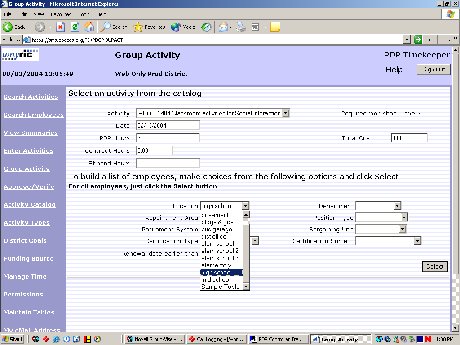
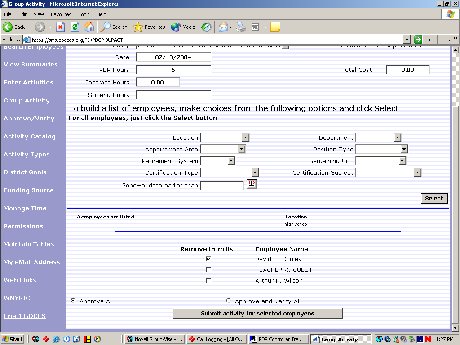
| 6-1 ------- | Group Activity - Adding activity requests for a group of users |
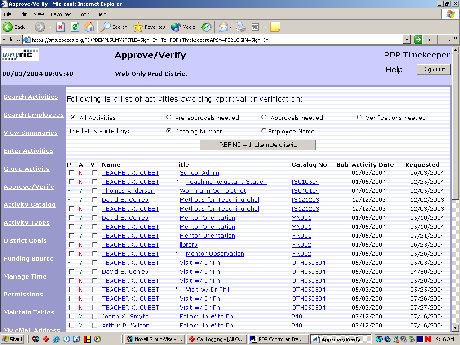
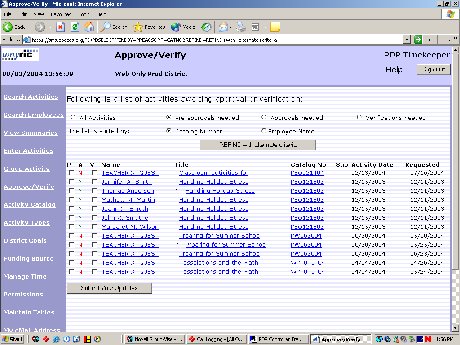
| 7-1 ------- | Approve/Verify – Updating the status of requested activities |
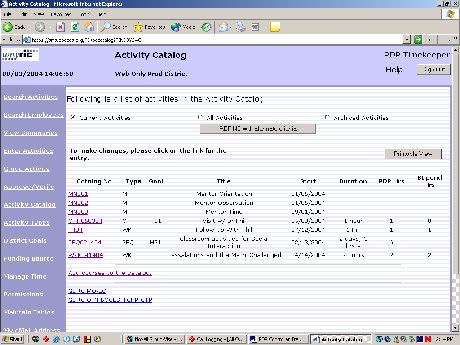
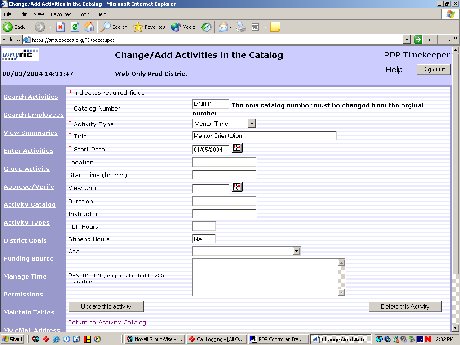
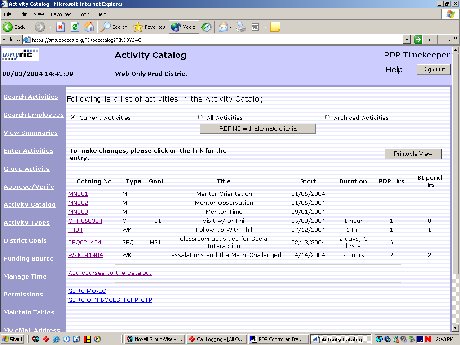
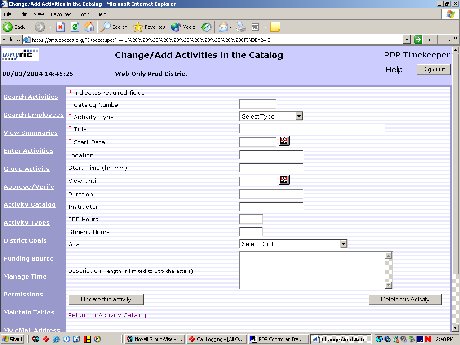
| 8-1 ------- | Activity Catalogue – Viewing, adding and updating activities in the catalog |
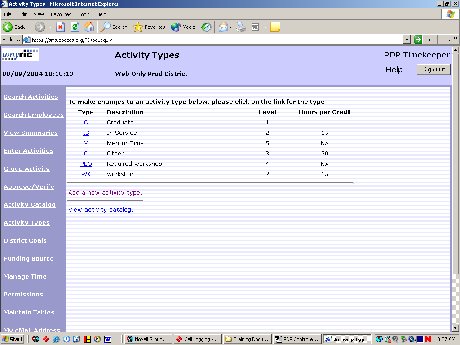
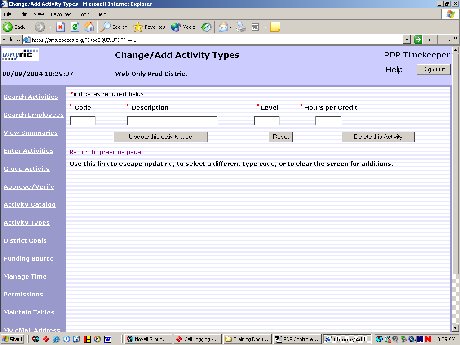
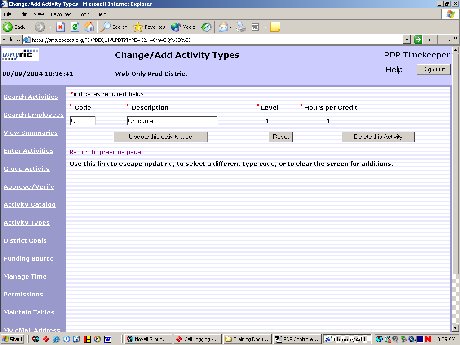
| 9-1 ------- | Activity Types – Viewing, adding and updating activity types |
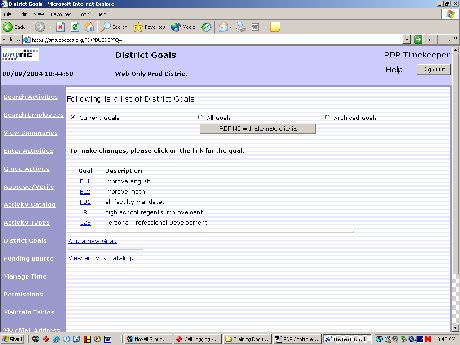
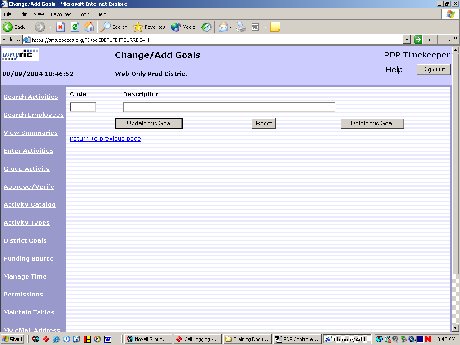
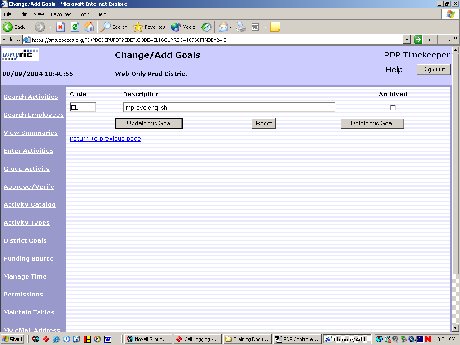
| 10-1 ------ | District Goals – Viewing, adding and updating district goals |
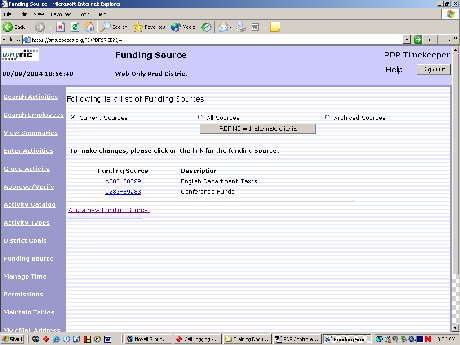
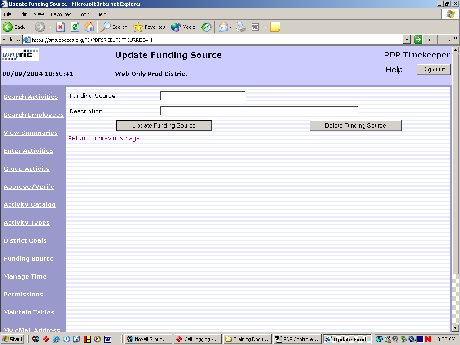
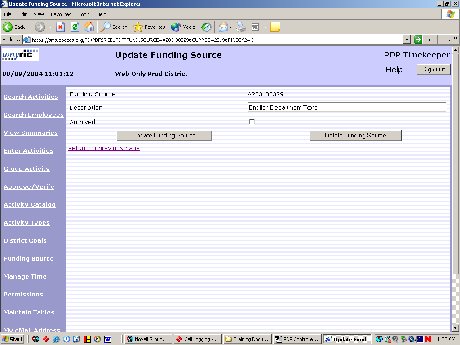
| 11-1 ------ | Funding Source – Viewing, adding and updating funding sources |
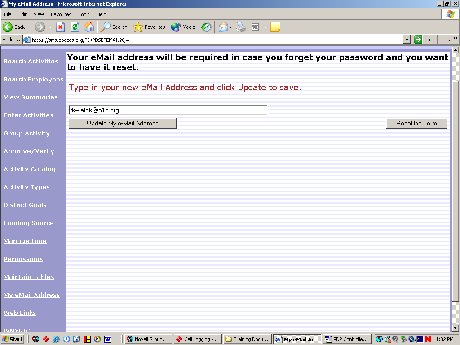
| 12-1 ------ | My E-Mail Address – Updating current e-mail address for PDP |
| Appendix A | Definitions |
| Appendix B | Import File Specifications |
| Appendix C | Suggested Reports – A listing of suggested reports |


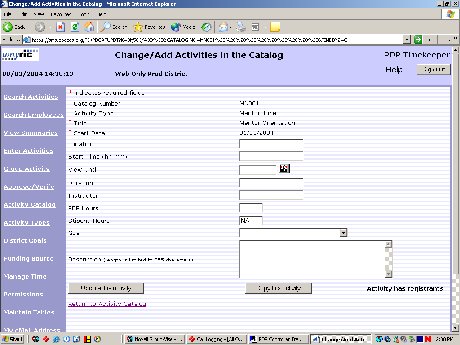


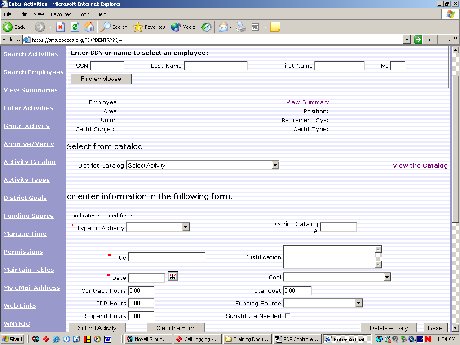
Activity—any professional development activity that the district wishes to track, e.g. Workshop: “Using Computers in Science Class”
Activity Type— Activity categories, e.g. In-service, Workshop, Grad Course and more
Catalog—listing of professional development activities offered by the district, a college, BOCES, etc.
Approve—give the employee the go-ahead to take a course or other activity
Verify—indicate that proof of completion of an activity has been submitted; assign value
PDP Hour—time value awarded to an activity for SED requirement of 175 hours every 5 years
Contract Hour—time value awarded to an activity to meet district contractual requirements for professional development each year
Stipend Hour - time value awarded to an activity to build toward an advancement in salary
Stipend Credit—credit earned after a given number of stipend hours are completed
Level—all activity types with the same weight are grouped into one level for totaling purposes
Block—number of credits needed to earn a stipend or to advance on salary schedule
Funding Source—budget code or other basis of payment for a requested activity
Appendix A
PDP Import File Field Specifications
Employee Record Data
Field # Description Maximum length
1* SSN 11
2* Last Name 16
3* First Name 14
4 Middle Init 1
5 Address 1 20
6 Address 2 20
7 City 20
8 State code 2
9 Zip. 10
Appointment Record Data
Field Description Maximum length
10 appointment(tenure) area code 8
11 appointment(tenure) area name 45
12 Department code 8
13 Department name 45
14 Position (employee) type code 8
15 Position (employee)type name 45
16 Bargaining unit code 8
17 Bargaining unit name 45
18 Building code 8
19 Building name 45
20 Retirement System code 8
Certification Record Data
Field Description Maximum length
21 Certification number 11
22 Certification Type 8
23 Area of Certification code 8
24 Area of certification words 45
25 Certification Date 8
26 Certification expiration Date 8
27 blank column
* Required Fields
File notes:
�
Tab delimited text file
�
Provide only one appointment record and one certification record per employee.
�
Data elements not loaded electronically may later be added manually within PDP Timekeeper.
Appendix B
Suggested Reports
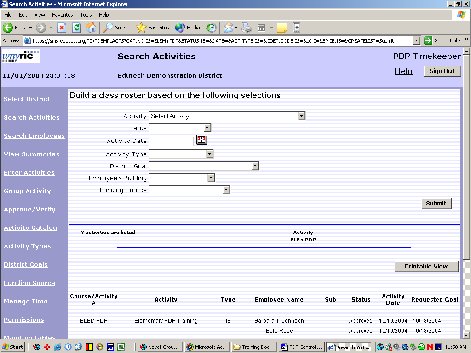
Although PDP does not have an actual report creation area many of the screen may be use to generate reports by clicking on the printable view button. The following is a list of reports that can be created this way.
Note: Any of the following reports can be modified by use multiple criteria. Such as in Search Activities selecting a building and a date will give a report of all activities for a specified building for a specified date and can be used to verify the number of subs needed.
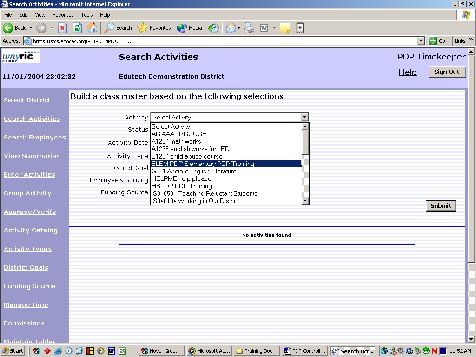
Class Roster
A listing of all employees enrolled in a specified class or seminar.
In Search Activities select by activity.
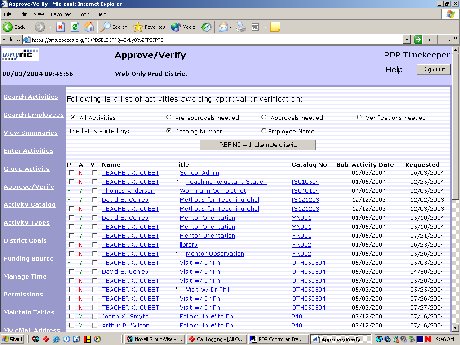
Activities by Status
A listing of all activities by a given current status.
In Search Activities select by status.
Activities by Type
A listing of activities by district defined categories.
In Search Activities select by activity type.
Activities by Goals
A listing of activities tied to a district defined goal.
In Search Activities select by goal.
Activities by Building
A listing of activities for a specified building.
In Search Activities select by building.
Activities by Funding Source
A listing of activities for a specified funding source.
In Search Activities select by funding source.
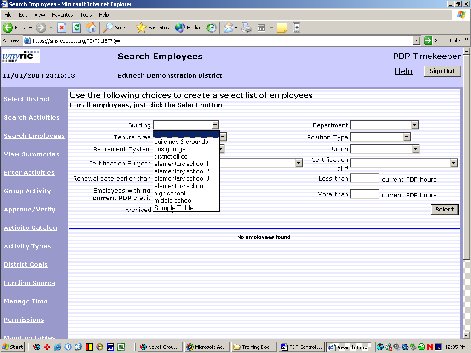
Employees with no PDP credit
A listing of employees without any current PDP hours.
In Search Employees click on employees with no current PDP credit check box.
Appendix C