| | - Section I: Getting Started
- Data Entry
- Reports
- Utility
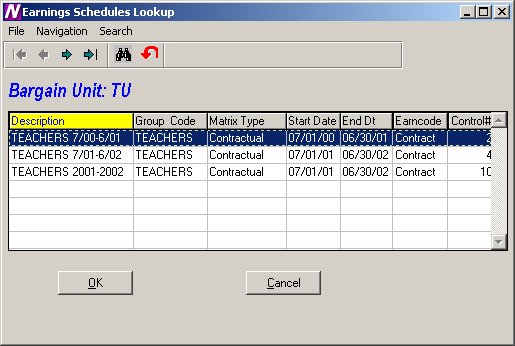
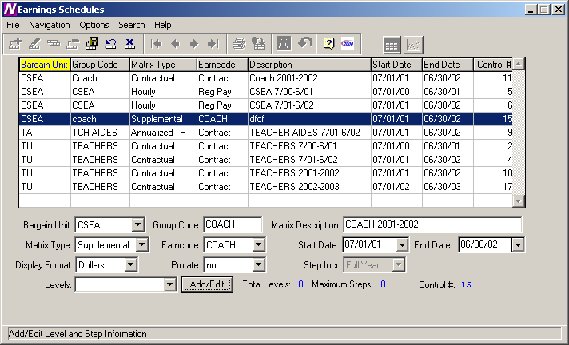
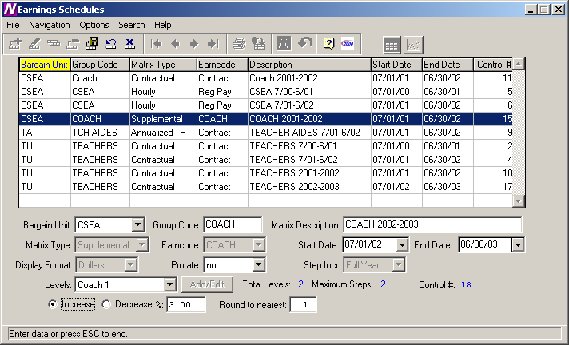
- Exercise 1: Adding an Earnings Schedule
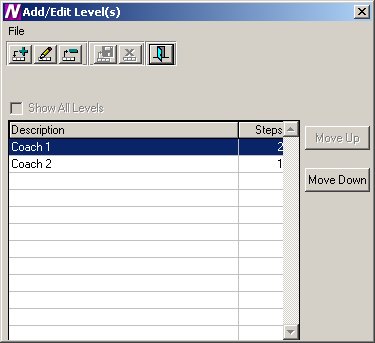
- Exercise 2: Adding Steps and Levels to an Earnings Schedule
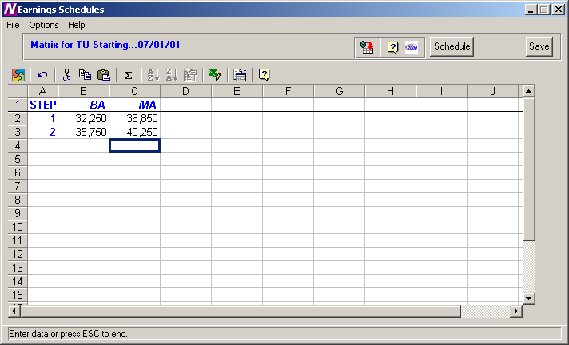
- Exercise 3: Setting Up a Salary Matrix
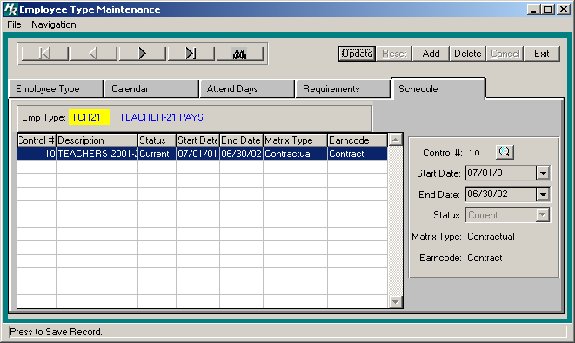
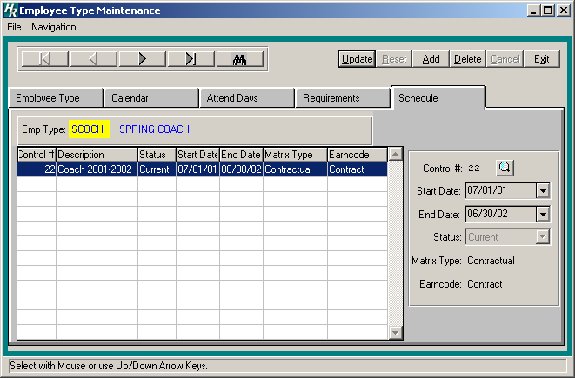
- Exercise 4: Linking the Schedule to the Employee Type
- Exercise 5: Setting Up Next Years Schedule
- Practice Exercise 1
- Practice Exercise 2
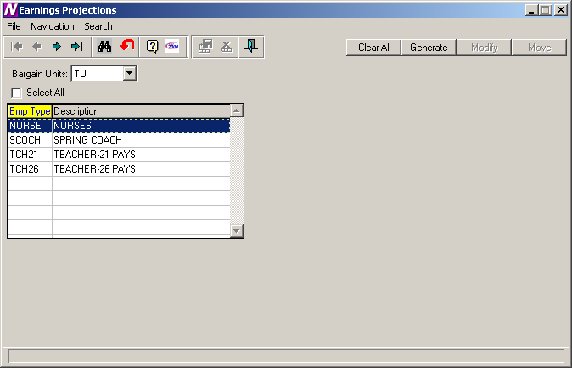
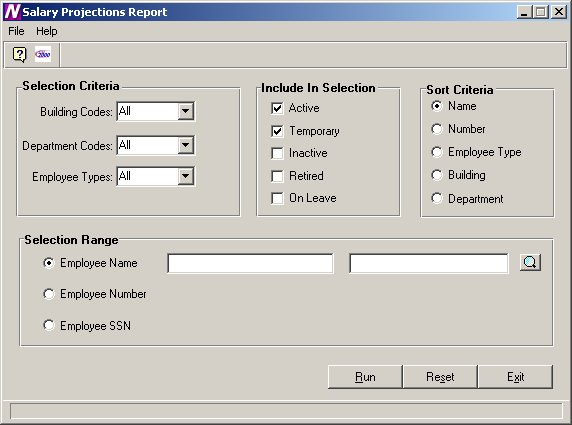
- Exercise 6: Earnings Projections
- Exercise 7: Verifying the Earnings Projection
- Exercise 8: Modifying Projection Information
- Exercise 10: Earnings Projection Letters
- Exercise 11: Moving Salary Information to Payroll
|